Pioneer Woman Cookie Dough Bars Recipe
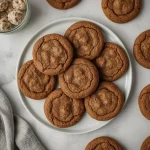
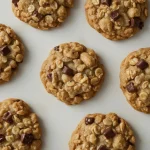
These Pioneer Woman Cookie Dough Bars solve a very specific craving: the urge to eat raw cookie dough without the guilt or the wait. They bake up into a single, perfectly proportioned pan with a soft, buttery center and crisp, golden edges.
This is a fantastic dessert for a small gathering or a quiet weeknight treat. The entire process, from prep to table, takes just 33 minutes. You get all the flavor of a classic chocolate chip cookie using the simple American baking method of whisking and folding—no fancy mixer required.
What are Pioneer Woman Cookie Dough Bars?
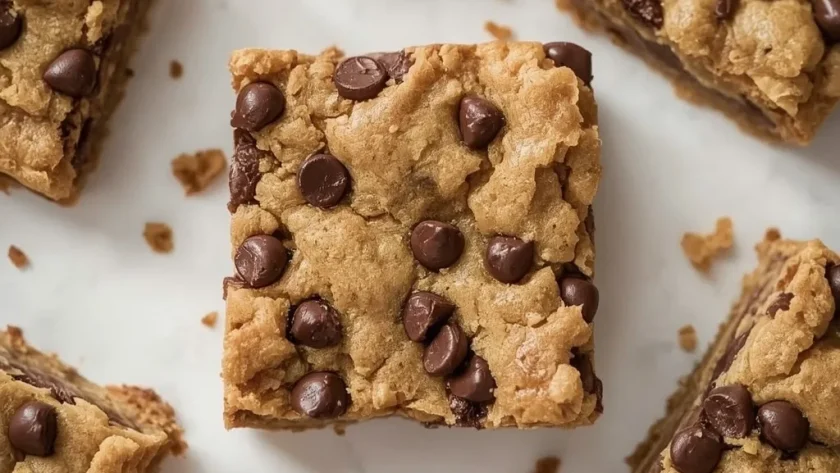
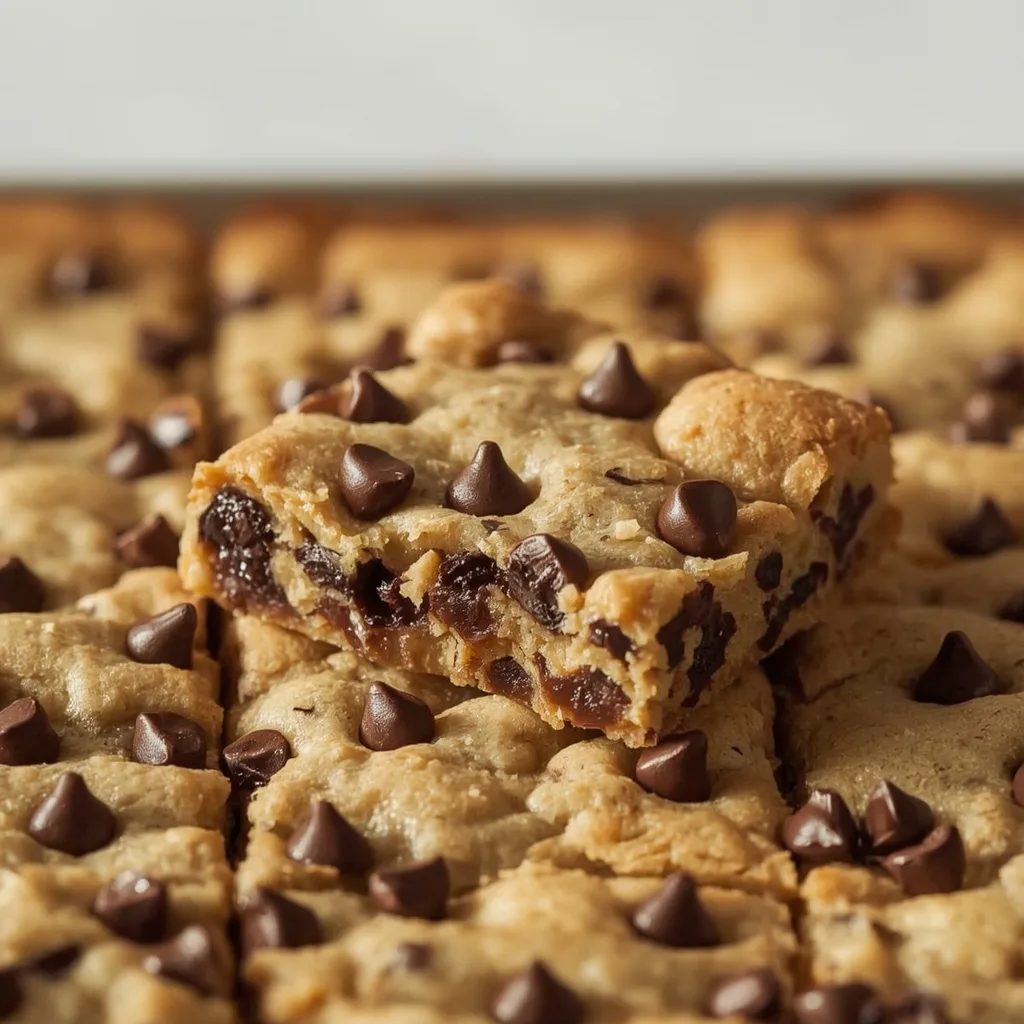
Think of these as the best part of a chocolate chip cookie, but baked into a thick, chewy bar. The dough is built with melted butter and an extra egg yolk, which creates a dense, fudgy texture that stays soft in the center. It is a straightforward bar dessert that delivers pure, buttery satisfaction in every bite.
Why You’ll Love This Recipe
- No mixer needed — Everything comes together in one bowl with a whisk and a spatula. Less cleanup means more time enjoying the finished bars.
- Perfect single-serving size — The 6×6-inch pan makes exactly four generous bars. You do not need to commit to a full sheet pan of cookies.
- Fast total time — Fifteen minutes of prep and eighteen minutes of baking. You are looking at a quick dessert that fits into a busy schedule.
- Soft texture that lasts — The combination of melted butter and a single yolk keeps the bars tender for days. They do not turn into hard, crunchy discs by the next morning.
- Highly adaptable base — The basic dough handles mix-ins and flavor twists without complaint. You can easily tailor it to your pantry or your mood.
Essential Ingredients for Pioneer Woman Cookie Dough Bars
Here is what you need and why each ingredient matters for success.
- 1/4 cup unsalted butter, melted — Melted butter gives the bars their dense, chewy texture without needing to cream room-temperature butter. Let it cool slightly so it does not cook the egg yolk.
- 1/4 cup granulated sugar — This provides structure and helps the bars spread just enough in the pan. It also contributes to those delicate golden edges.
- 1/4 cup packed light brown sugar — Brown sugar adds moisture and a subtle molasses depth that keeps the center soft. Make sure it is packed firmly into the measuring cup.
- 1 large egg yolk — Using only the yolk skips the watery white that can make bars cakey. It adds richness and fat for a fudgy crumb.
- 1/2 teaspoon vanilla extract — Pure vanilla rounds out the sweetness and enhances the chocolate flavor. You can use imitation extract in a pinch, but the flavor will be less complex.
- 1/2 cup all-purpose flour — Standard flour gives the bars the right structure. Spoon it into your cup and level it off to avoid packing in too much.
- 1/4 teaspoon baking soda — A tiny amount of leavener keeps the bars from being dense bricks. Whisk it into the flour to prevent bitter lumps.
- 1/4 teaspoon kosher salt — Salt balances the sugar and makes the chocolate chips pop. Fine sea salt works too, just use a slightly smaller pinch.
- 1/3 cup semisweet chocolate chips — These provide classic chocolate pockets throughout the bar. Reserve a tablespoon to press onto the top for a prettier look.
Equipment You’ll Need
A few specific tools make this recipe straightforward and mess-free.
- 6×6-inch baking pan — This is the exact size you need for the right thickness. An 8×8 pan will spread the dough too thin and shorten the bake time drastically.
- Parchment paper — Cut a piece to line the pan with overhang on two sides. This sling lets you lift the whole block of bars out cleanly without scraping.
- Small offset spatula — The angled blade helps press the sticky dough into the corners evenly. A greased fingertip or the back of a spoon works as a backup.
- Sharp chef’s knife — A clean, sharp knife cuts through the cooled bars without dragging or tearing the edges. Wipe the blade between each cut for four picture-perfect rectangles.
- Large mixing bowl and whisk — A bowl with a wide opening makes whisking the butter and sugars easy. Use a balloon whisk for the best aeration during the egg yolk step.
Instructions to Make Pioneer Woman Cookie Dough Bars
These steps are simple, but a few details make the difference between okay bars and great ones.
- Preheat and prep — Preheat your oven to 350°F. Line your 6×6 pan with parchment, leaving overhang on two sides for easy removal later.
- Whisk wet ingredients — In a large bowl, whisk the melted butter with both sugars until smooth and glossy, about 30 seconds. The mixture should look emulsified with no graininess.
- Add egg yolk and vanilla — Whisk vigorously for another 30 seconds until the mixture turns pale and slightly thickened. This step traps air for that tender texture.
- Combine dry ingredients — Whisk the flour, baking soda, and salt together in a small bowl. This ensures the baking soda is evenly spread and you will not bite into a salty pocket.
- Fold dry into wet — Add the flour mixture to the butter mixture and fold with a rubber spatula until just combined. Stop as soon as you see the last streak of flour disappear.
- Add chocolate chips — Fold in the chocolate chips, setting aside about a tablespoon. Distribute them evenly so every bite has chocolate.
- Press into the pan — Transfer the dough to your lined pan and press it into an even layer using the spatula or your fingers. Press the reserved chips onto the top for a finished look.
- Bake and rotate — Bake for 15 to 18 minutes, rotating the pan halfway through. The bars are ready when the edges are golden brown and the center is set but still soft to the touch.
- Cool completely — Place the pan on a wire rack and let the bars cool for about 30 minutes. Do not skip this step—cutting warm bars will cause them to crumble into a mess.
- Slice and serve — Lift the bars out using the parchment sling and transfer to a cutting board. Cut into four equal rectangles with a sharp chef’s knife, wiping the blade between cuts.
Common Mistakes I Made (And How I Fixed Them)
Here is what tripped me up the first few times I made these.
- The butter was too hot — I once poured melted butter straight from the microwave into the sugar. It partially cooked the egg yolk when I added it, leaving tiny curds. I now let the melted butter cool for a full three minutes before using it.
- I overmixed the flour — Mixing the flour for too long developed too much gluten, making the bars tough rather than tender. Now I stop folding the moment the flour disappears, even if a few streaks remain.
- Skipping the parchment sling — The first batch stuck to the pan badly, and I had to chip the bars out in pieces. Parchment paper with overhang is non-negotiable for clean removal.
- Cutting them too early — I was impatient and sliced into the bars after only ten minutes of cooling. They fell apart into a pile of crumbly bits. The full 30-minute cooling period allows the structure to set.
- Using an 8×8 pan — I grabbed the wrong pan once and ended up with paper-thin, overbaked cookies instead of thick bars. The 6×6 pan is essential for the correct thickness and texture.
Best Tips for Pioneer Woman Cookie Dough Bars Success
These small adjustments make a noticeable difference in your final bars.
- Whisk wet ingredients until pale — The 30-second whisk after adding the egg yolk is not optional. It incorporates air that helps the bars rise slightly and stay tender rather than dense.
- Reserve chocolate chips for the top — Folding all the chips into the dough buries them. Pressing a few onto the surface before baking creates a more attractive, classic cookie look.
- Check for doneness with your finger — A toothpick test is useful, but the center should feel softly set when you gently press it. A jiggly center means it needs another minute or two.
- Let the pan cool on a wire rack — Placing the hot pan directly on a counter traps heat underneath and can overbake the bottom of the bars. The wire rack allows air to circulate for even cooling.
- Chill sticky dough if needed — If your dough feels too soft to press into an even layer, refrigerate it for ten minutes. Cold dough is much easier to handle and press flat.
- Use a sharp knife and wipe it clean — A dull blade drags through the bars and smears the chocolate. Wiping the blade between each of the four cuts gives you clean, professional-looking edges.
Best Ingredient Swaps for Pioneer Woman Cookie Dough Bars
You can make these bars with ingredients you probably already have on hand.
- Melted salted butter — Replace the unsalted butter with salted butter and omit the added kosher salt. This swap simplifies the recipe and works perfectly if that is what you have.
- Dark brown sugar — Use dark brown sugar instead of light brown for a deeper molasses flavor. The bars will have a noticeably richer, more complex sweetness.
- White whole wheat flour — Substitute half the all-purpose flour with white whole wheat flour for a slightly nuttier taste. Do not use regular whole wheat, as it will make the bars too dense.
- Butterscotch chips — Swap the semisweet chocolate chips for butterscotch chips. The buttery, caramel-like flavor pairs beautifully with the brown sugar base.
- Vanilla bean paste — Replace vanilla extract with an equal amount of vanilla bean paste. You will get visible vanilla specks and a more intense, floral vanilla flavor.
Delicious Variations to Try
Once you master the base recipe, these variations keep things exciting.
- Double chocolate — Substitute one tablespoon of the flour with unsweetened cocoa powder and use white chocolate chips. The result is a fudgy, brownie-like bar with contrast from the white chips.
- Peanut butter swirl — Drop small spoonfuls of creamy peanut butter onto the dough before baking. Swirl it in gently with a knife for a marbled effect and a savory-sweet combo.
- Toffee crunch — Fold in a quarter cup of crushed toffee bits along with the chocolate chips. The toffee melts into buttery pockets and adds a pleasant crunch.
- Coconut and almond — Add a quarter cup of shredded coconut and replace half the chocolate chips with slivered almonds. This variation has a tropical, crunchy texture.
- Mint chocolate chip — Add a quarter teaspoon of peppermint extract along with the vanilla. Use dark chocolate chips for a classic after-dinner mint pairing.
How to Store Leftovers Properly
Storing these bars correctly keeps them fresh and soft for days.
- Room temperature container — Place the bars in an airtight container with a sheet of parchment between layers. They stay perfectly soft at room temperature for up to three days.
- Refrigerator for longer life — For storage up to a week, keep the bars in a sealed container in the fridge. Let them sit at room temperature for ten minutes before serving to soften.
- Freezer for future treats — Wrap each bar individually in plastic wrap, then place them in a freezer-safe bag. They freeze well for up to three months, and you can thaw one at a time.
How to Reheat Pioneer Woman Cookie Dough Bars
Warming these bars brings back that fresh-from-the-oven gooeyness.
- Microwave method — Place a single bar on a microwave-safe plate and heat for about 10 seconds. This is the quickest way to get that soft, melty texture without cooking the bar further.
- Oven method — Warm the bar on a baking sheet in a 300°F oven for 3 to 5 minutes. This method is better if you are reheating multiple bars and want to keep the edges crisp.
- Air fryer method — Place a bar in the air fryer at 300°F for 2 minutes. Check it halfway through to ensure the chocolate does not burn.
Nutritional Breakdown (Per Serving)
This recipe makes exactly four servings. Here is the full nutrition for one bar.
- Calories — 367
- Protein — 3g
- Fat — about 18g
- Carbohydrates — around 49g
- Fiber — 1g
- Sugar — about 35g
- Sodium — roughly 269mg
FAQs
Can I make these Pioneer Woman Cookie Dough Bars gluten-free?
Yes, you can use a 1:1 gluten-free all-purpose flour blend that contains xanthan gum. The texture will be slightly more tender, but the bars will still hold together beautifully.
Can I freeze these bars before baking?
You can freeze the unbaked dough right in the parchment-lined pan. Wrap the entire pan tightly in plastic wrap and then foil, and freeze for up to three months. Bake directly from frozen, adding about 3 to 5 minutes to the bake time.
Why did my bars spread too much in the pan?
Spreading usually happens if the butter was too warm when you mixed the dough. Let your melted butter cool for a few minutes before combining it with the sugar. Chilling the dough for ten minutes before baking also helps control spread.
Can I double this recipe?
You can easily double the ingredients, but you need an 8×8-inch pan instead of the 6×6. The bake time will increase slightly, so start checking for doneness at around 20 minutes.
What is the best way to tell if the bars are done?
The edges should be golden brown, and the center should feel set but still soft when you gently press it. A toothpick inserted in the center should come out with a few moist crumbs, not wet batter. Do not overbake them.
Final Words
These Pioneer Woman Cookie Dough Bars are exactly what a quick dessert should be: simple to make, satisfying to eat, and easy to clean up. The soft, buttery texture and rich chocolate chips make them a reliable choice for any occasion.
Try this recipe the next time you need a fast, foolproof sweet treat. I think you will find yourself coming back to it again and again.
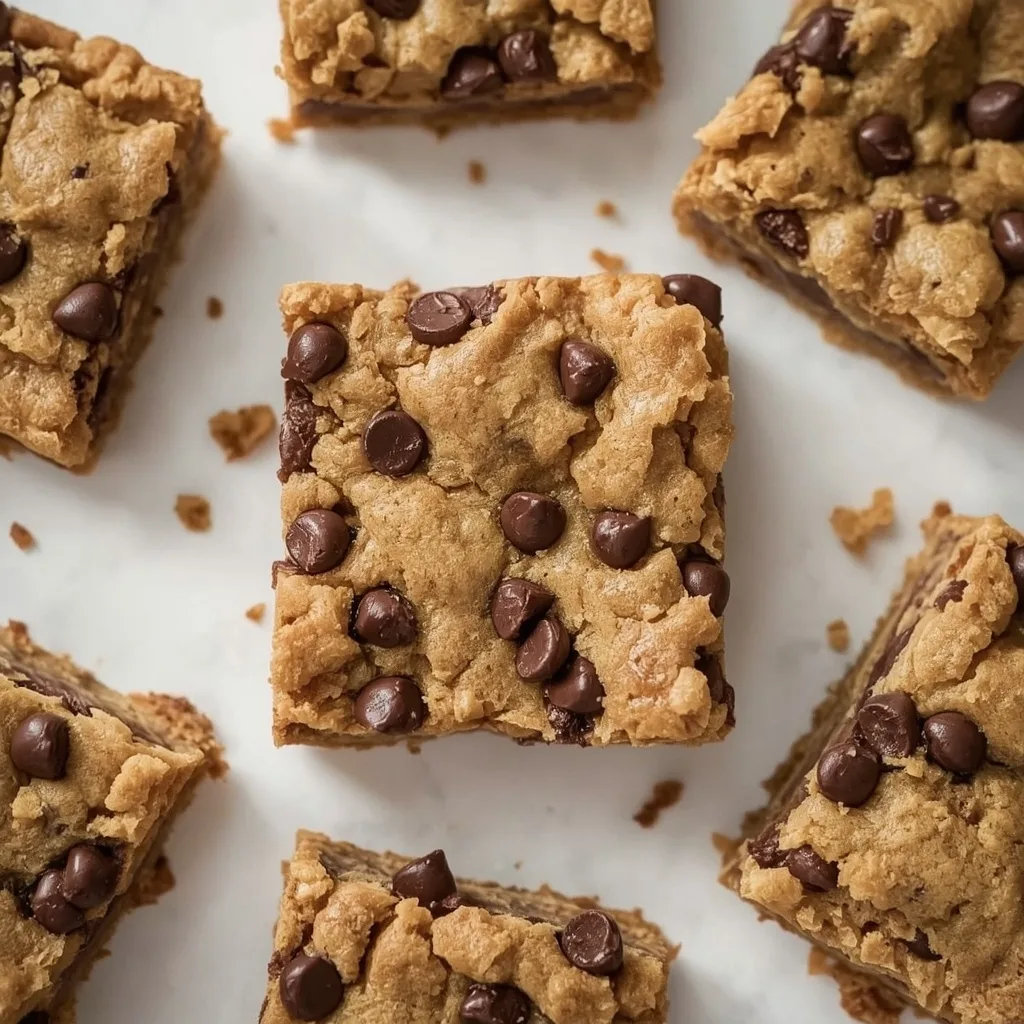
Pioneer Woman Cookie Dough Bars
These cookie dough bars from the Pioneer Woman are a chewy, buttery chocolate chip cookie in bar form. With a soft center and golden edges, they’re the perfect quick dessert for small gatherings. No mixer required—just a bowl and a spoon.
SAVE THIS RECIPE!
Get this sent to your inbox, plus get new recipes from us every week!
INGREDIENTS
INSTRUCTIONS
-
1
Preheat the oven to 350°F (177°C). Line a 6×6-inch baking pan with parchment paper, leaving overhang on two opposite sides for easy removal. Set aside.
-
2
In a large mixing bowl, combine the melted butter, granulated sugar, and brown sugar. Whisk until smooth and no lumps remain, about 30 seconds. The mixture should look glossy and emulsified.
-
3
Add the egg yolk and vanilla extract. Whisk vigorously until the mixture is pale and slightly thickened, about 30 seconds. This incorporates air for a tender texture.
-
4
In a separate small bowl, whisk together the flour, baking soda, and salt until evenly combined. This ensures the leavener is well distributed, preventing bitter pockets of baking soda.
-
5
Add the dry ingredients to the wet mixture. Fold with a rubber spatula until just combined—overmixing develops gluten and makes bars tough. The dough will be thick and slightly sticky.
-
6
Fold in the chocolate chips until evenly dispersed. Reserve about 1 tablespoon of chips to press onto the top of the dough for an attractive finish.
-
7
Transfer the dough to the prepared pan. Using a small offset spatula or your fingers, press the dough into an even layer reaching all corners. Press reserved chips onto the surface.
-
8
Bake for 15 to 18 minutes, rotating the pan halfway through. The bars are done when the edges are golden brown and the center is set but still soft to the touch. A toothpick inserted in the center should come out with a few moist crumbs, not wet batter.
-
9
Place the pan on a wire rack and let cool completely, about 30 minutes. Cooling allows the bars to firm up for clean slicing; cutting too soon will cause them to crumble.
-
10
Lift the bars out using the parchment sling and transfer to a cutting board. Use a sharp chef’s knife to cut into 4 equal rectangles (about 3×3 inches each). Wipe the knife between cuts for neat edges.
-
11
Serve at room temperature. For an extra gooey texture, warm individual bars in the microwave for 10 seconds.
NOTES
- Chill the dough: If the dough is too soft to press, refrigerate it for 10 minutes before pressing. Press evenly: Use the back of a greased spatula to create a flat surface, ensuring even baking. Don’t overbake: The center will look slightly underdone when you pull the pan from the oven; it will set as it cools. Cool completely: Let bars cool fully in the pan before lifting out to prevent breaking.
NUTRITION
Serving: 1 | Calories: 367kcal | Carbohydrates: 49g | Protein: 3g | Fat: 18g | Saturated Fat: 10g | Cholesterol: 77mg | Sodium: 269mg | Fiber: 1g | Sugar: 35g
Nutrition information is automatically calculated, so should only be used as an approximation.